
Everyone asks… “How do you make soap?” We are going to attempt to show the basics of how each batch is made. Handcrafted soap uses Lye or Sodium Hydroxide. In it’s raw form it can be very toxic. “How can that be safe for my skin,” you may ask. Soap made with Lye and a variety of oils has been crafted for centuries with no skin issues. Over the years, soap companies have taken over the mass production of soap and have streamlined the process by adding unnecessary chemicals and additives. Soap Handcrafters around the world have attempted to regain the simplicity of making just good, simple soap that is safe and effective to use… but more importantly a soap that is more of an experience in the shower or tub. We have also heard, “My skin is very sensitive and I can’t use just anything.” With most people, our soaps are more delicate and even relieve itching for those with eczema and psoriasis. Our customers continue to buy our soap for that purpose.
The Process…
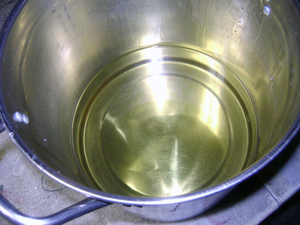
Making Good Scentz uses a tried and true recipe using the Cold Process Method of making handcrafted soap. We start out by melting our oils in a stainless steel pot.
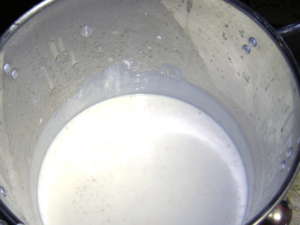
Sodium Hydroxide or Lye mixed with distilled water is then cooled and added to the oils. DISCLAIMER: It is IMPORTANT to stress the need to handle Sodium Hydroxide with care. Much education or research needs to be undertaken before even using this product. Gloves, eye goggles, arm protection must be used as it can cause skin irritation, burning, eye injuries and much more… Making Good Scentz uses only food grade Sodium Hydroxide, but it is still dangerous to be in direct contact with.
After the cooled lye water has been added, a stick blender is used to begin the process of saponification. This is the mixing of oils with the water and lye, which changes the mixture into soap… to put it simply. At this time the additives, fragrances are added. We include pureed oatmeal into every batch of soap which acts as an exfoliant and also soothes any skin irritation for those with sensitive skin.
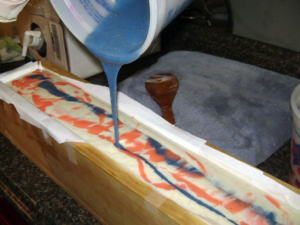
If colorants are being added, the mixture is divided into various containers and cosmetic grade powders are added and stick blended.

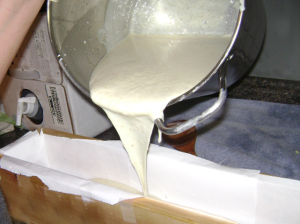
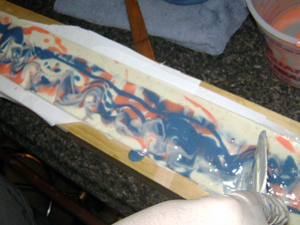
In this batch, the main portion of the soap is added to the mold. This will be the largest color in each bar of soap.
The portions of soap that were earlier divided are then added to create a swirl effect. There are many techniques that can be used to obtain a unique bar of soap. Each batch, or even each bar, will be different from the last. That’s what makes handcrafted soap so unique.
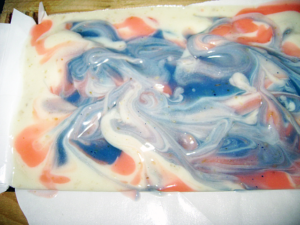
We then swirl the tops to create a cool effect. Each batch of soap has a different look.
Close-up after swirling technique… Very cool!
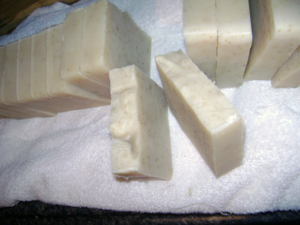
Now the hard part… we have to wait. After 24 hours, the soap logs can be unmolded from their boxes. At this point we can cut the logs into 22 individual bars. It’s always exciting to see how each bar turns out. You’ll never get the same look.
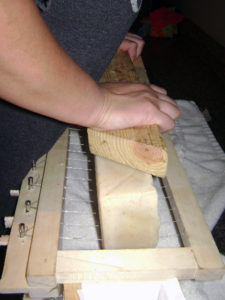
Our soap cutter can cut one log into nice even bars within seconds.
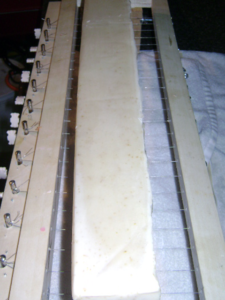
Now the REALLY, REALLY hard part… Waiting… We cure our soap for at least 3 weeks. They’re safe to use as soon as they dry up for a day or so. But… they are so much better and last longer if they are left to dry. The bars harden, last longer and are just a milder bar.
That’s pretty much it. Every time you enjoy a bar of handcrafted soap, just remember the work and care that has gone into each bar.